rom59 a écrit :
Nan pour un mid tank faut virer le boitier radio, il y a pas d'autre solution.
FAUX

Regardez ça :
http://www.savage-central.com/modules.p ... ic&t=62769
[quote="__PhaseShiftDown";p="538474"]
UPDATED 20/09/06 ALL PICS ARE NOW UP 
I had the ofna 125cc mod done in a similar fashion a while back, but always wanted a bigger tank for longer run time. I like the MGT tank mod, but didnt want to go through all the trouble of relocating the sterring servo. I could've used the Hellfire tank, but didnt really like the shape of it.
So I went seraching for a suitable alternative, and accidently stumbled acrossed the new 150cc Mugen tank, which came from a new MBX5T (The new Mugen Truggy). It was the perfect tank, slim, can be fit into the stock radio box and it looks good.
Below is how I did this mod. Keep in mind that the part number for the tank is E0815, NOT E0812. E0812 is the fuel tank for the older MBX5, which is only 125cc I believe. Althogh both tank looks identical, the E0815 is taller. I have used the old savage radio box, but I would imagine that the savage x radio box will also work.
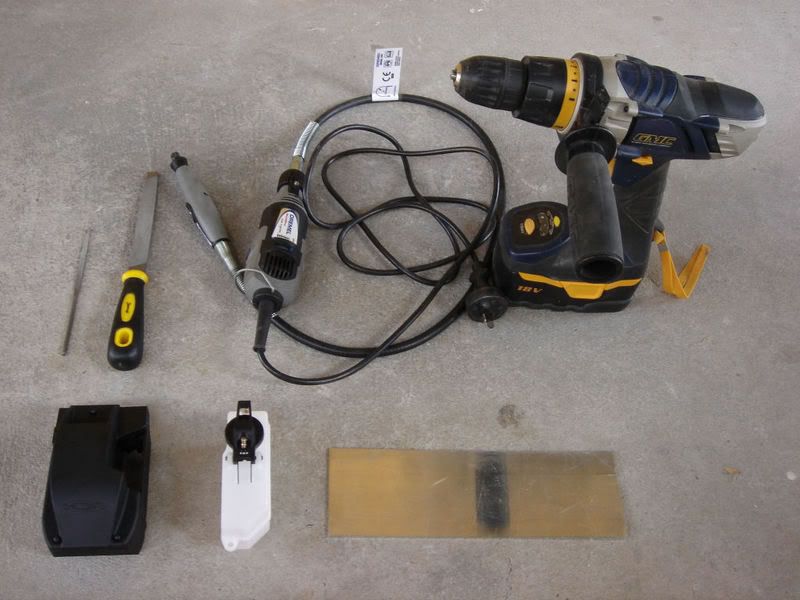
TOOL THAT I WILL BE USING AND THE LIST OF PARTS REQUIRED
Flat needle file, medium file, Dremel (optional), power drill, radio box, Mugen MBX5T fuel tank (E0815), 1mm aluminum plate
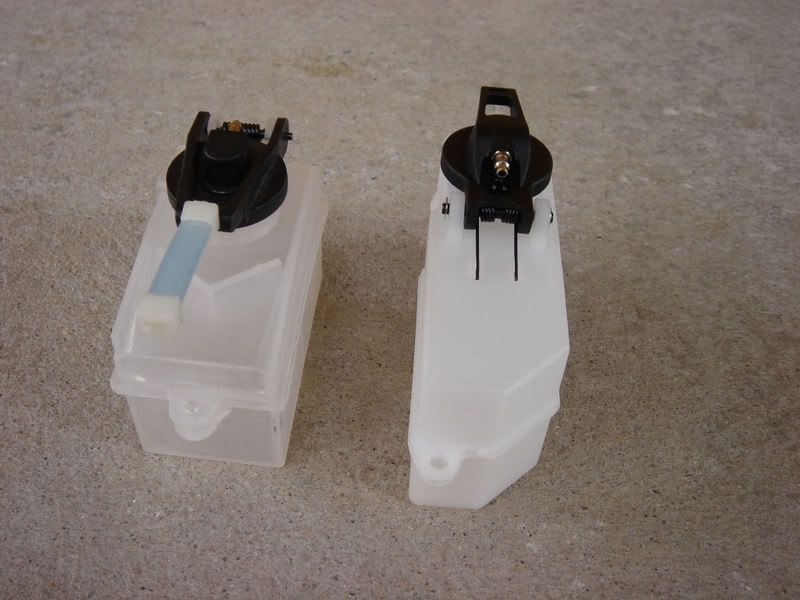
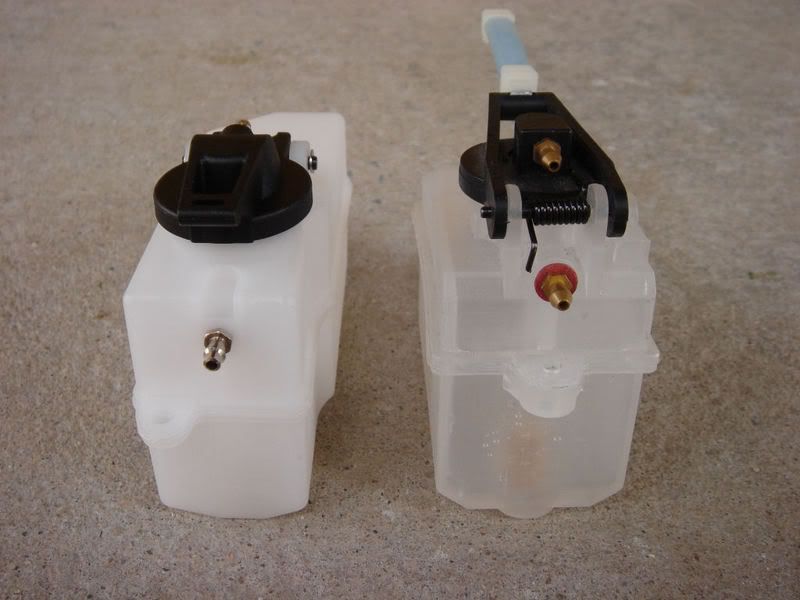
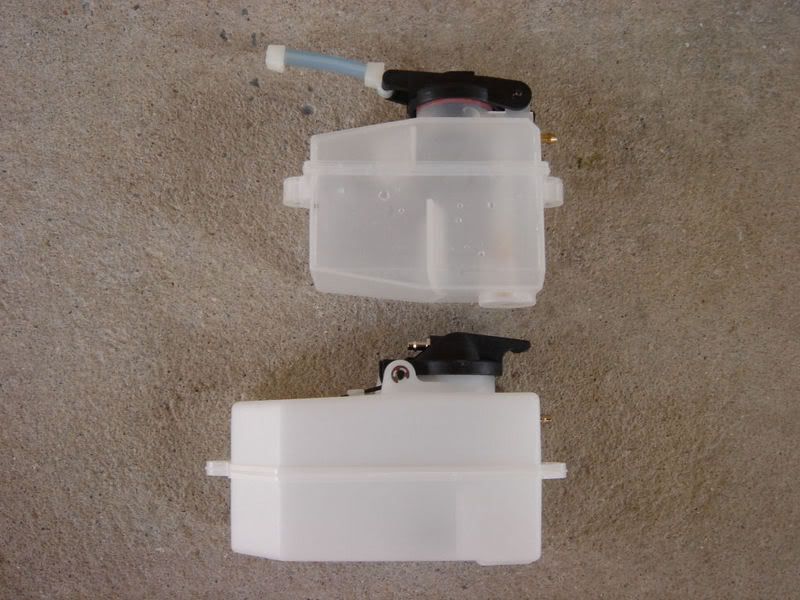
 COMPARISON BETWEEN THE OFNA TANK AND MUGEN
]
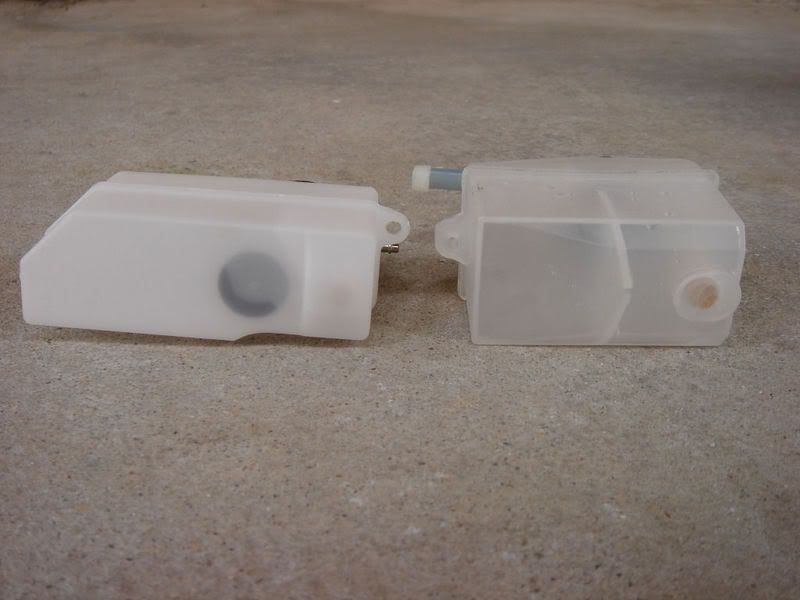
As you can see, the Mugen tank is longer than the Ofna tank, but the Ofna tank is slightly winder than the Mugen.
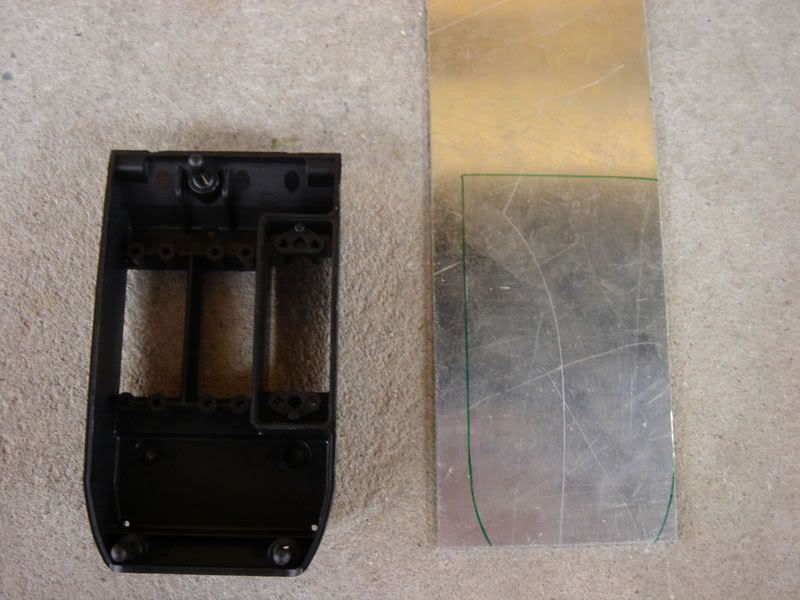
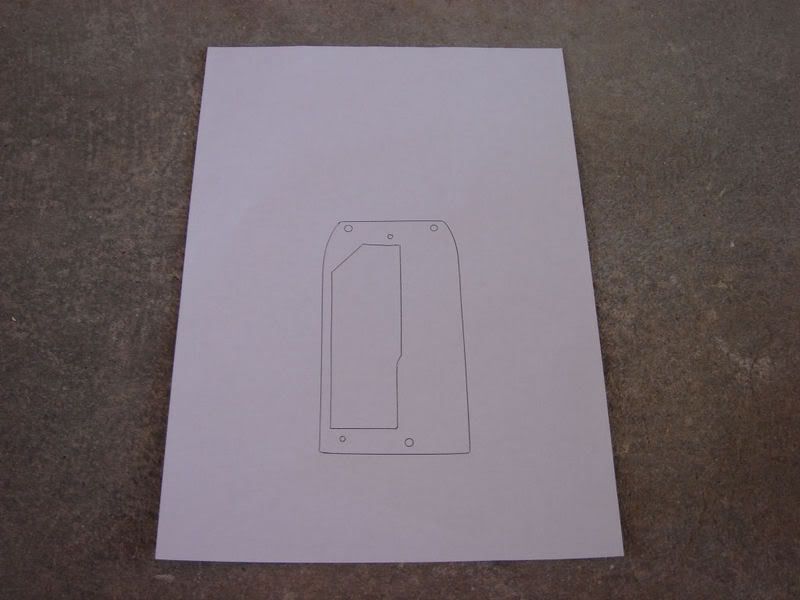
STEP 1: Trace out the shape of the radio box on the aluminum plate and cut
This is the crucial step, so take your time. I would recommand you to trace onto a piece of paper first, cut it out and see if it fits. Trail and error until you get it perfect. YOU WANT TO MAKE IT SO THAT IT JUST FIT "INTO" THE RADIO BOX, NOT JUST OVER IT.
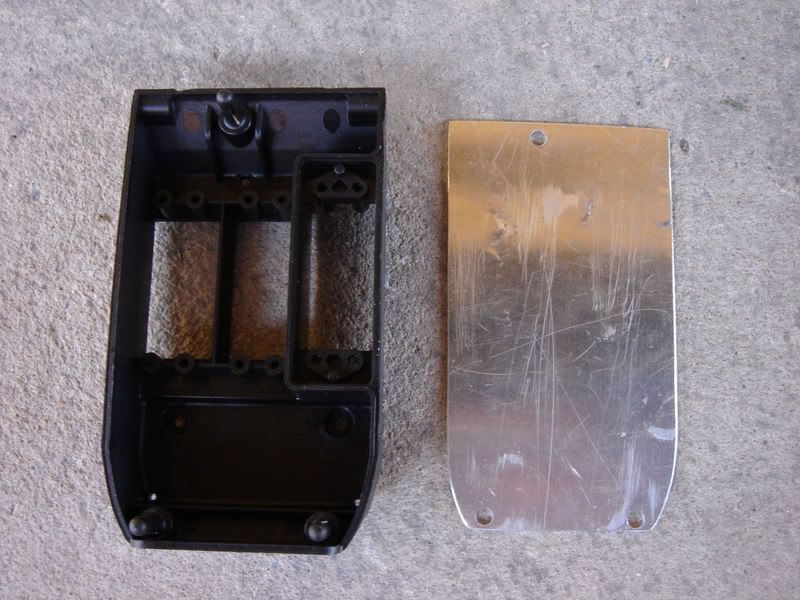
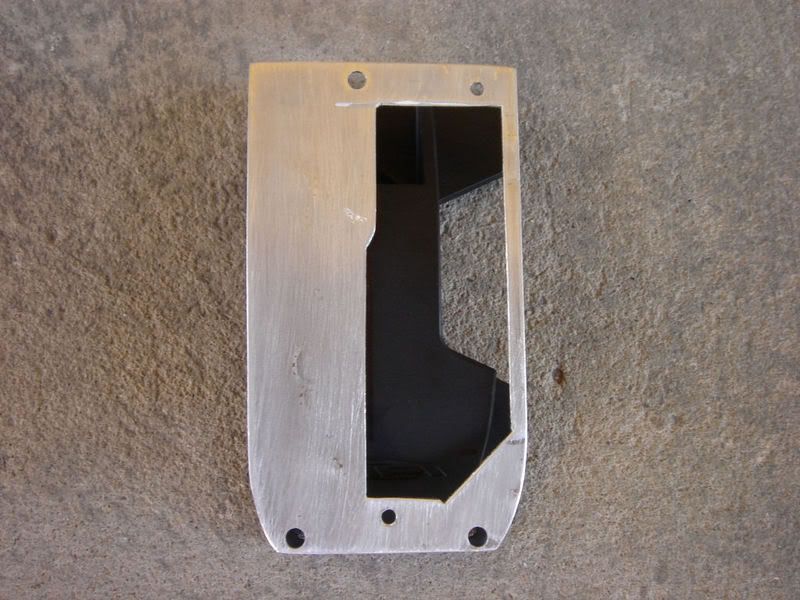
 STEP 2: Trace out the shape of the fuel tank on the aluminum plate and cut
For this step, again I would recommand you to trace out the shape on a piece of paper first before transferring it onto the actual plate. So I would first transfer the shape of the aluminum plate to a fresh piece of paper first and work from there. Take it nice and slow, trail and error until you get it to fit perfect.
Then you simply transfer the shape onto the plate and cut it out. Things will be a lot easier if you have a jig saw. But I dont, so first I would drill a series of holes around the area which I'm going to cut out, then just use the dremel to cut it out. If you dont have a dremel, simply use a small but sharp cutter and cut it out. Which ever you chose to do it, you should end up with somthing like this.

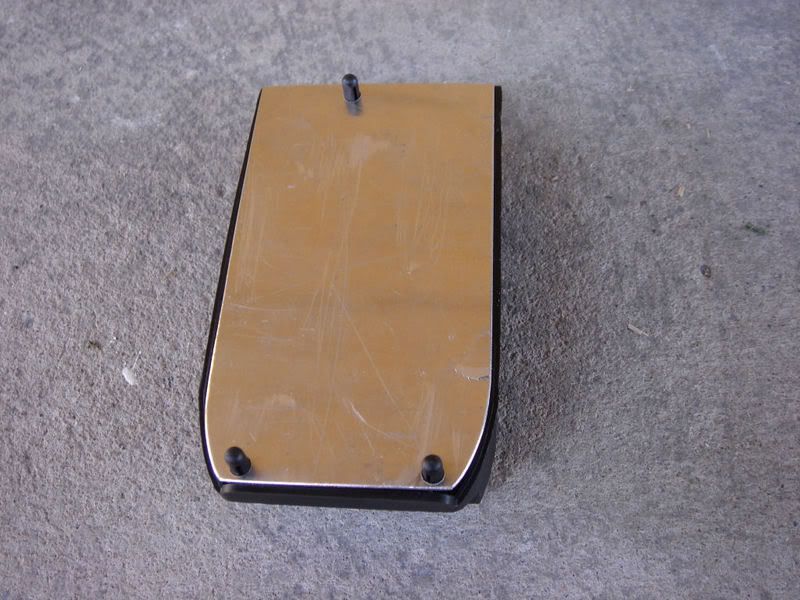
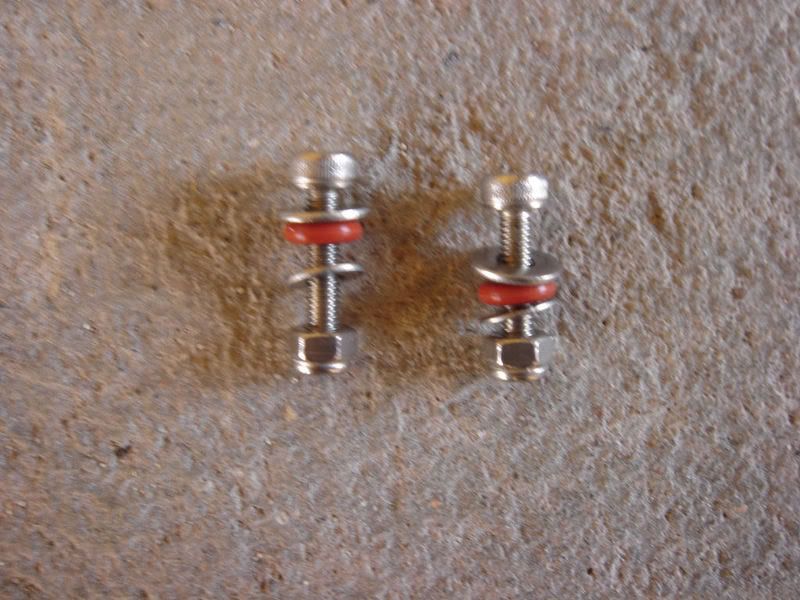
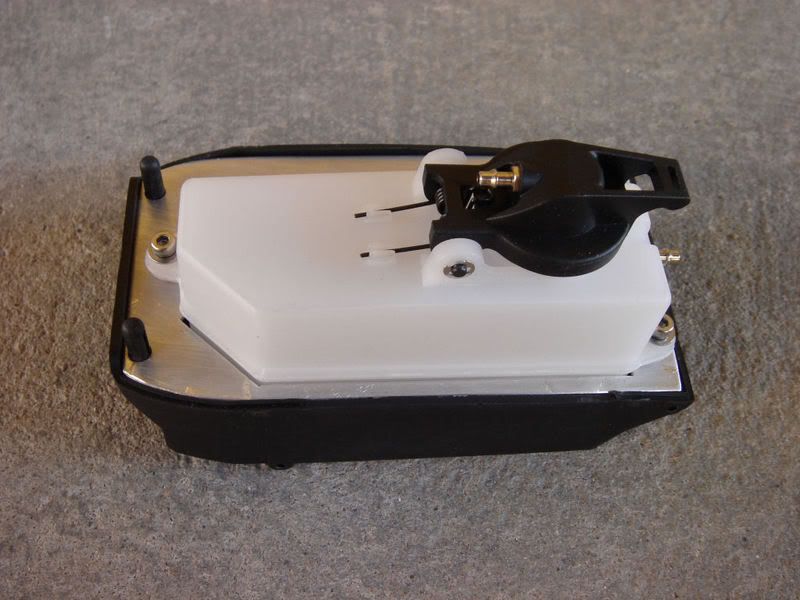
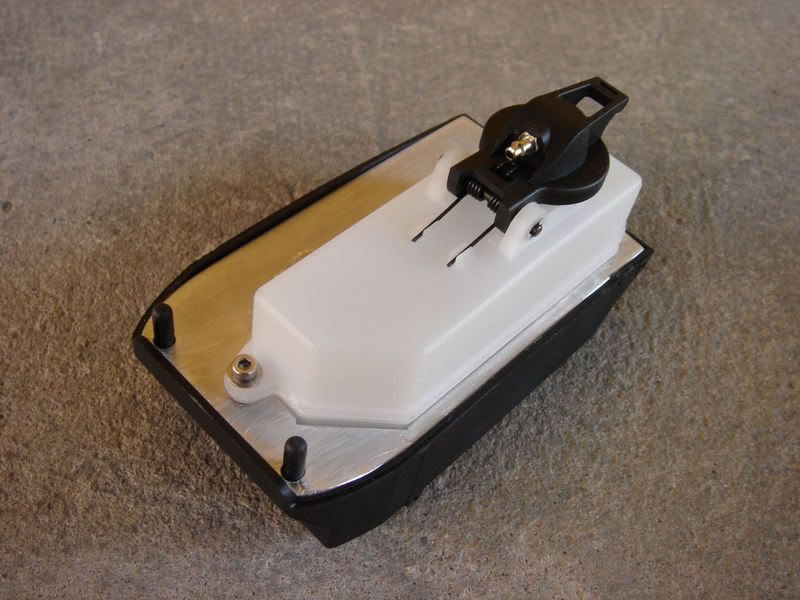
You will need to find yourself 2 screws with matching washers and nuts and 2 Orings. The Oring serves as spacers and provide some cushion for the tank.
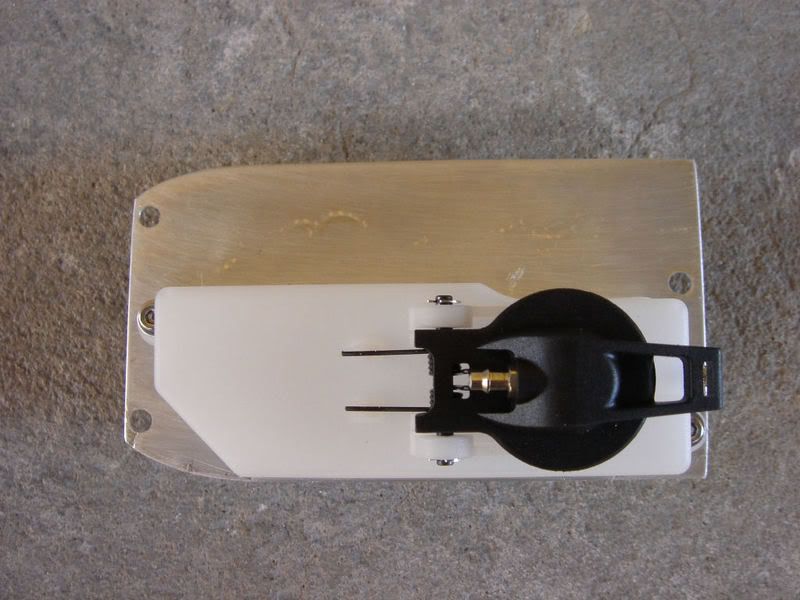
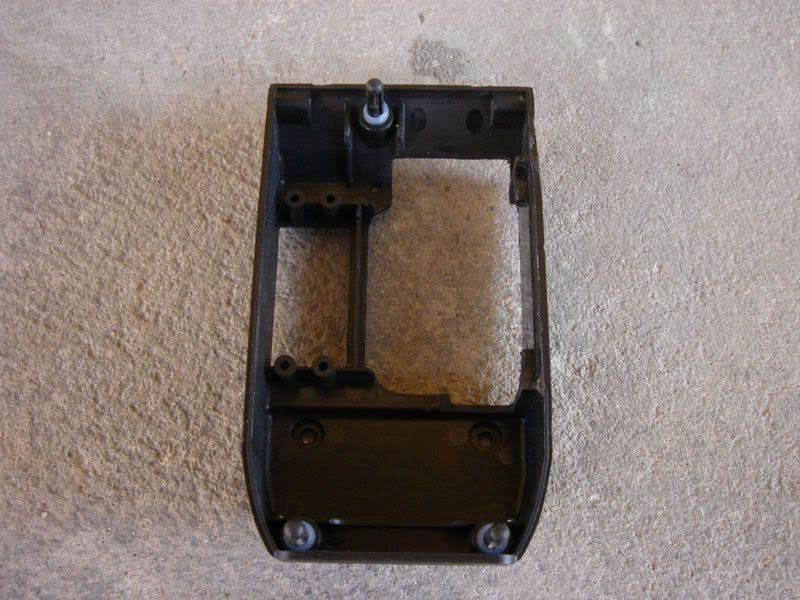
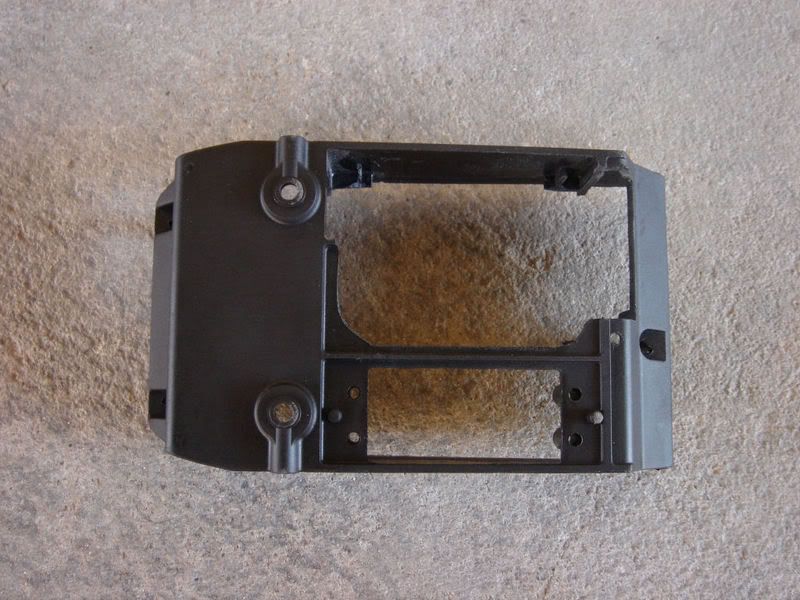
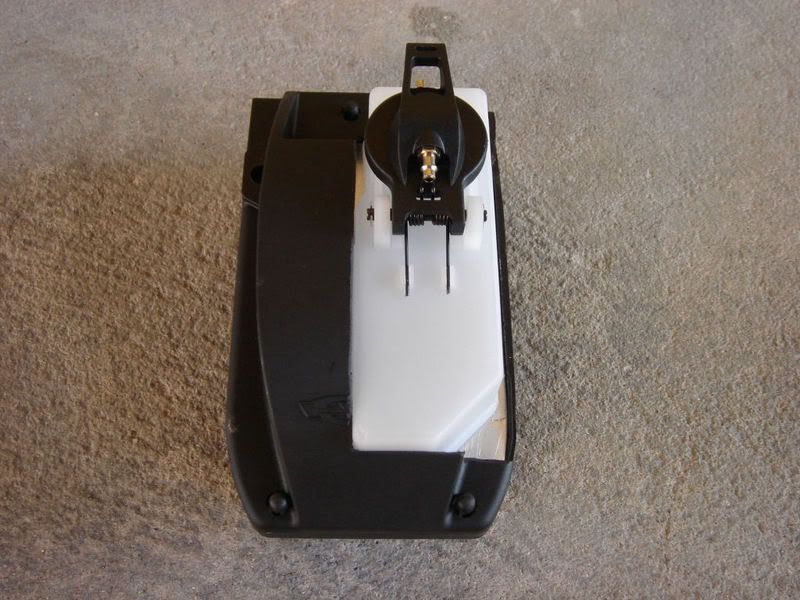
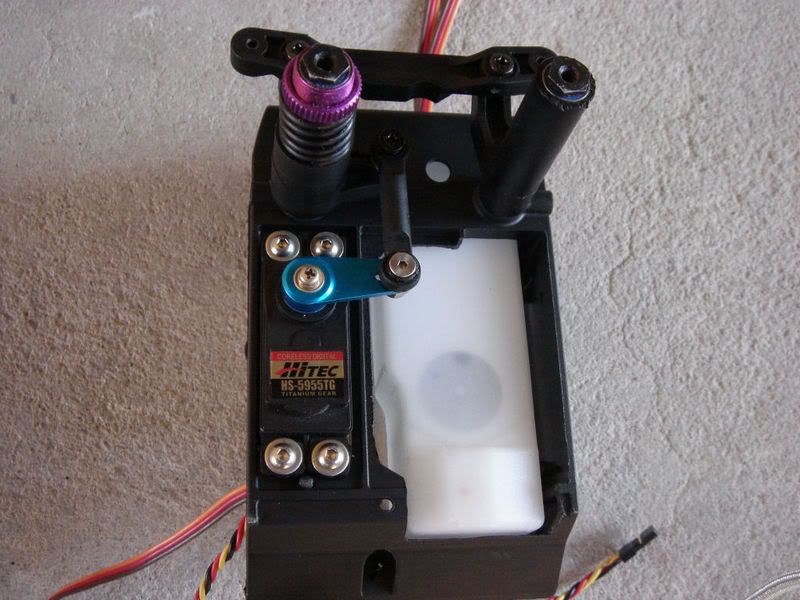
 STEP 3: HACK THE RADIO BOX
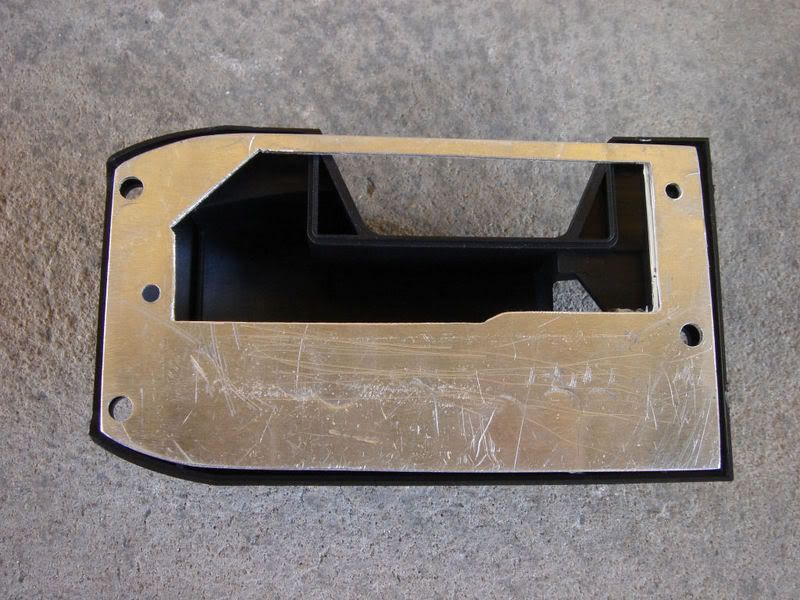
In this step, you will need to modify the radio box so that the fuel tank can fit into it. So first, you should install the plate onto the radio box to get an idea of how much material needs to be taken out.
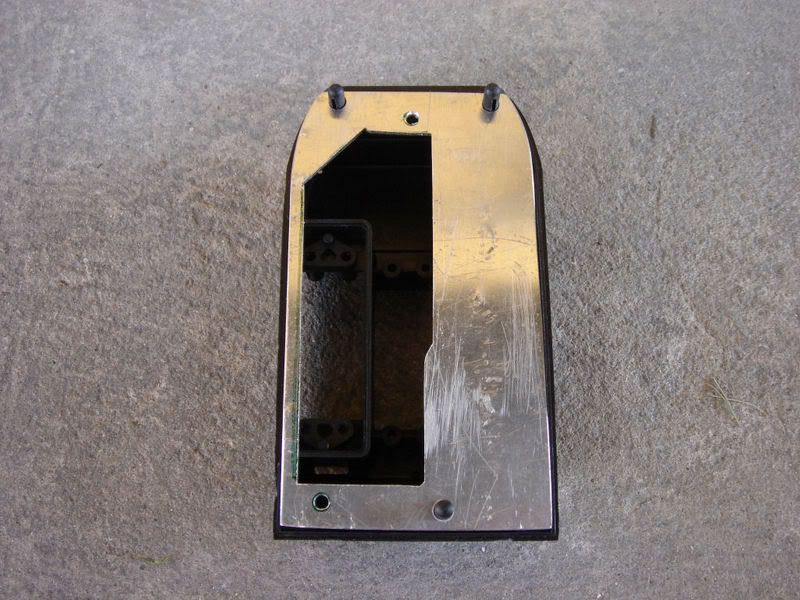
Once you have a rough idea, go ahead and start destroying. I find using a combination of a dremel and a sharp flat edged cutter makes the job a lot easier. Again, which ever way you chose to do it (take it slow), you should end up with somthing like this.
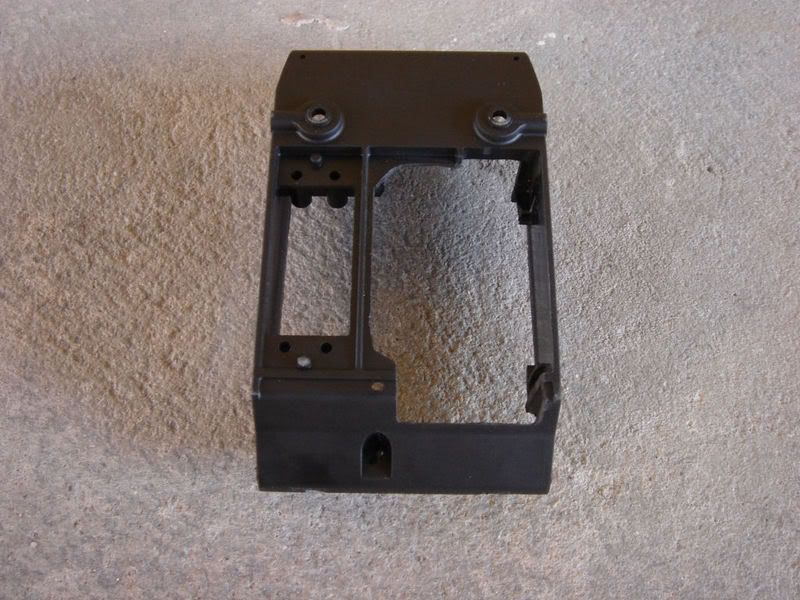
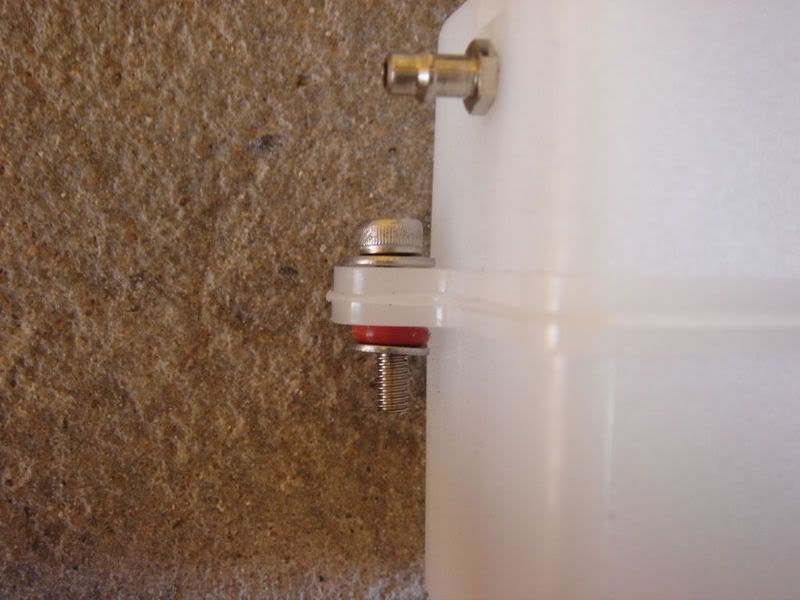
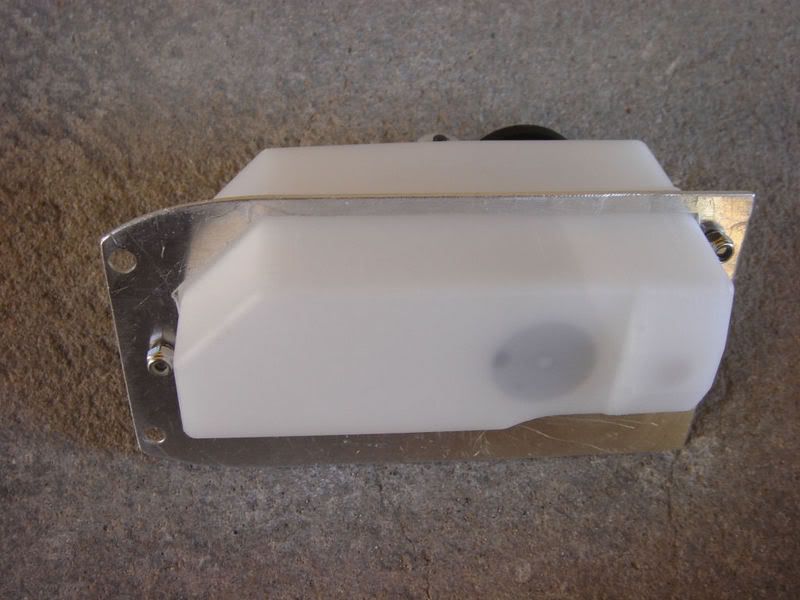
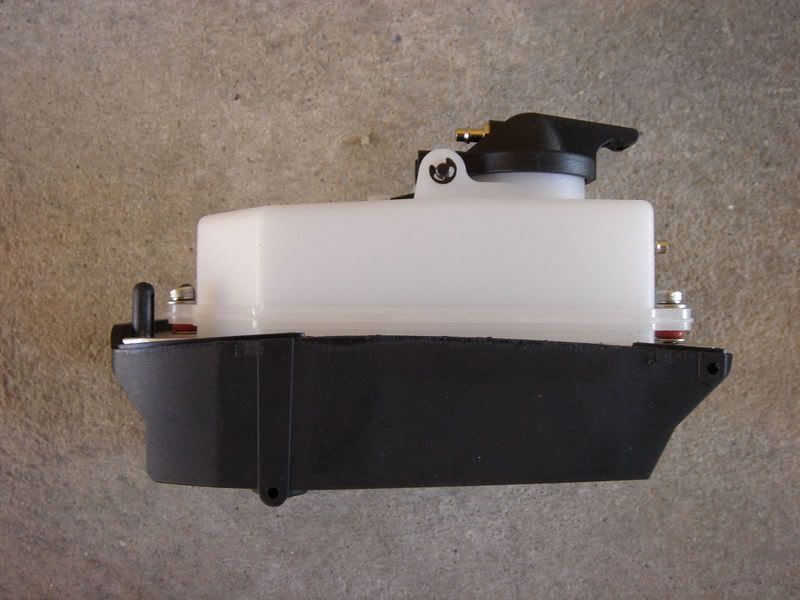
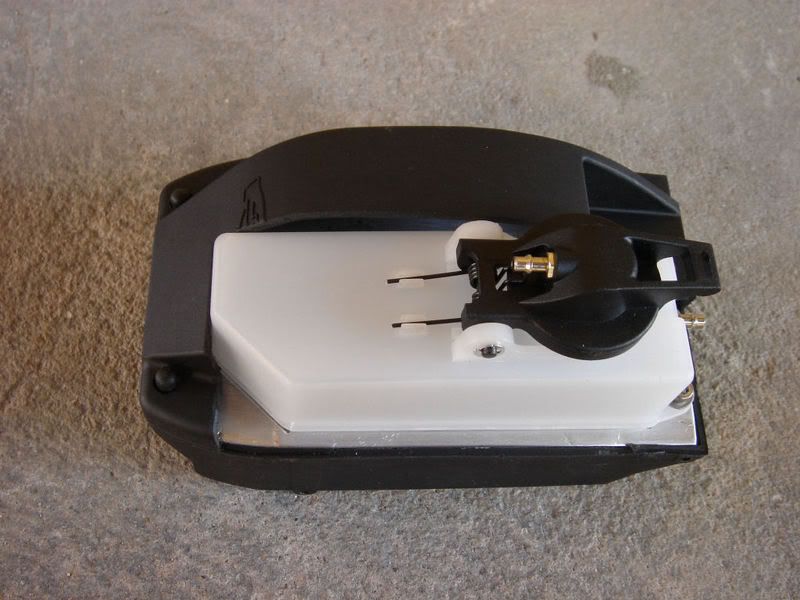
Now cut some fuel tubing around 30mm and slide them over the radio box mounting post
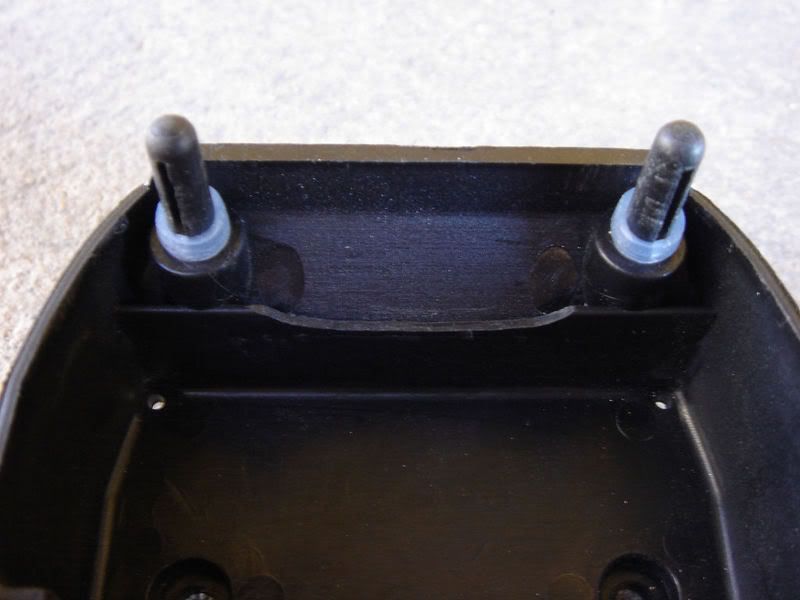
Then install everything that you've done so far and see how it fits. Once you have everything fits perfectly, time for the next step. You are almost there!!
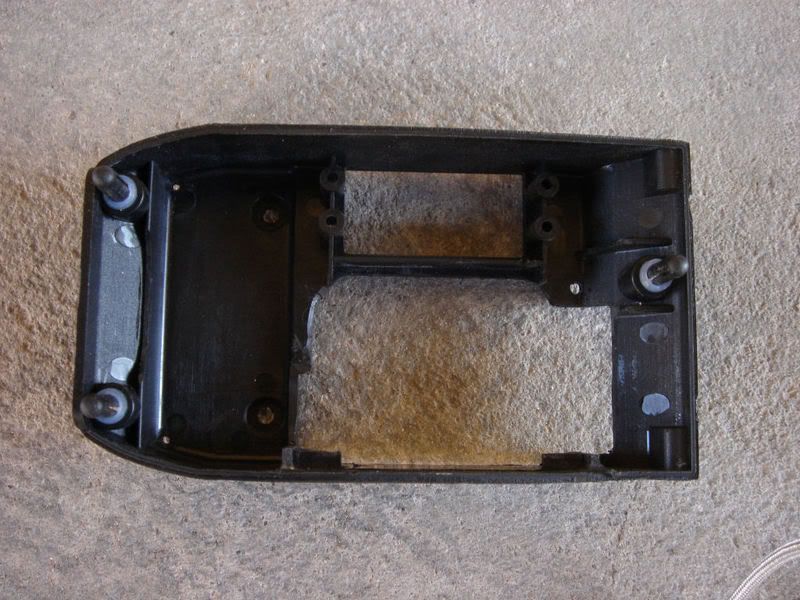
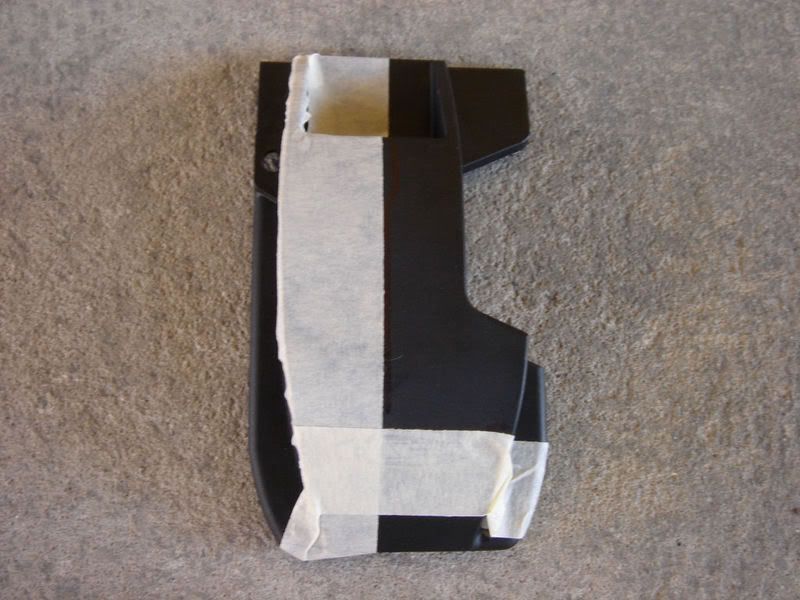
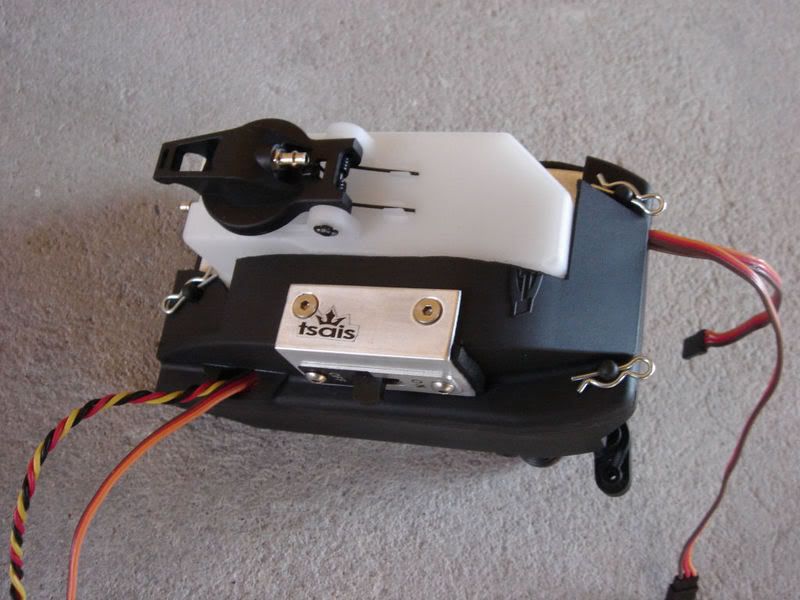
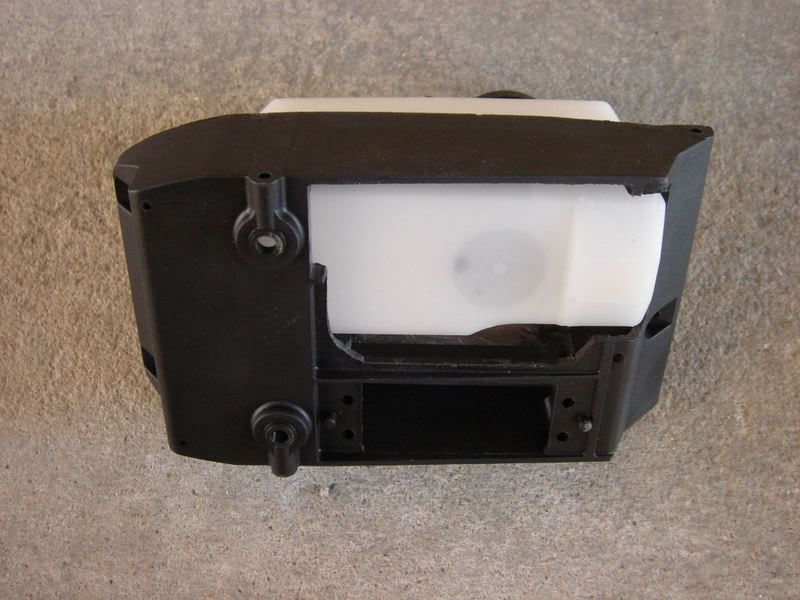 STEP 4: HACK THE RADIO BOX COVER
Once you have completed this step, the mod is pretty much all completed. So lets go ahead and do it!
First, you will need to know how much material to take out from the radio box cover. So put the plate on the cover top and bottom to get an rough idea. Then you mask off the area which you will need to cut and to it to a hack saw. Again and again, take it nice and slow, measure twice, cut once. You dont want to mess up on the last step!
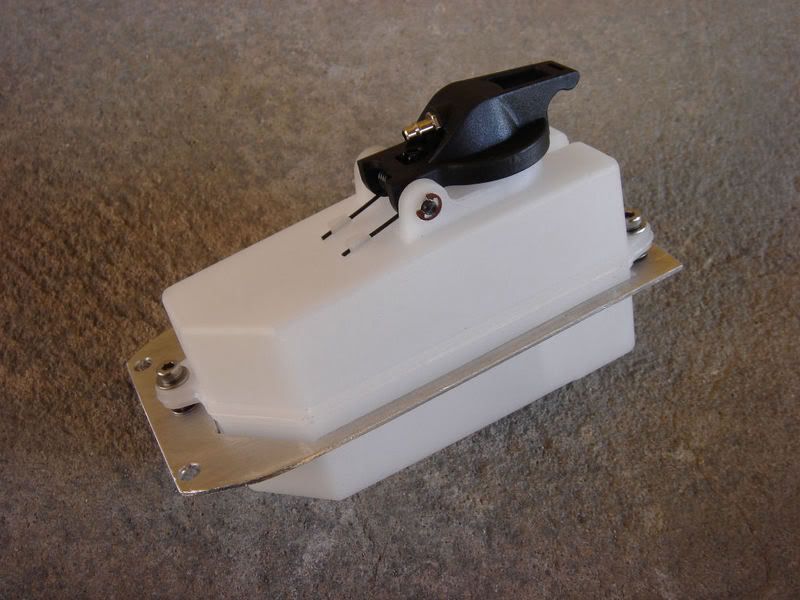
And this is what it should look like.
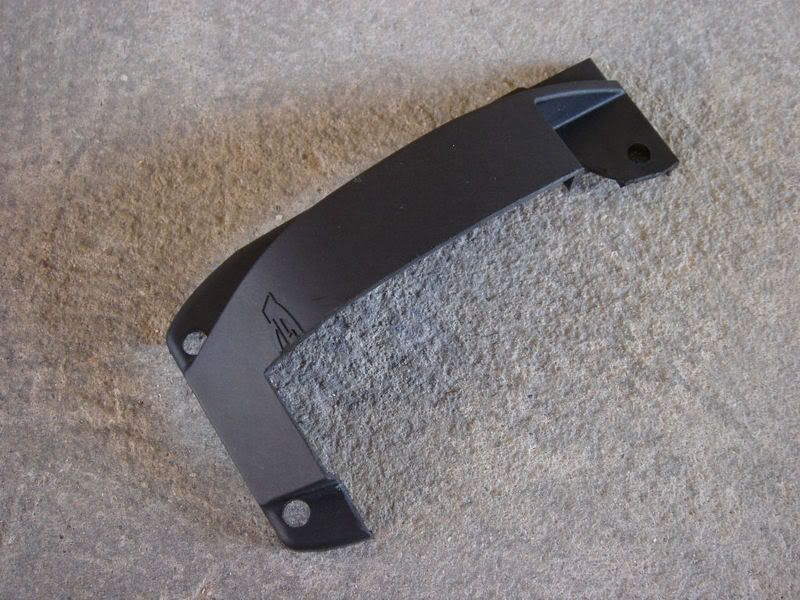
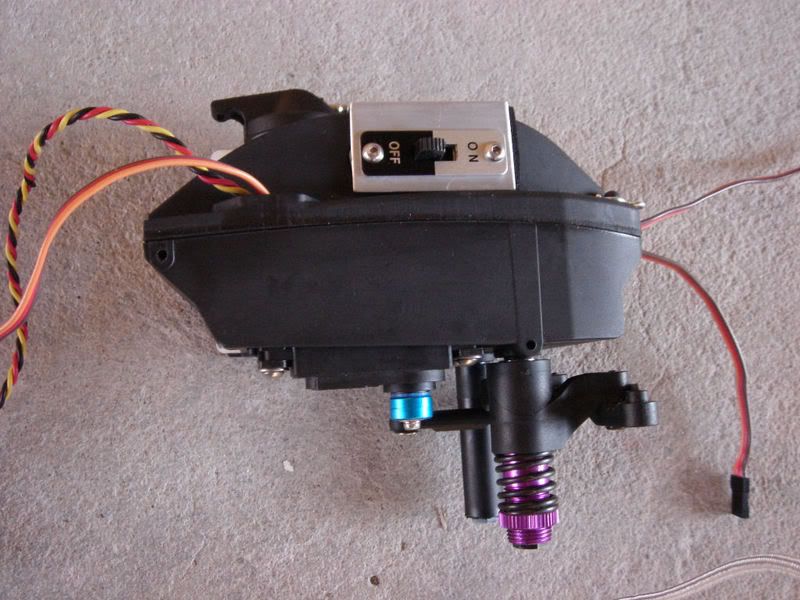
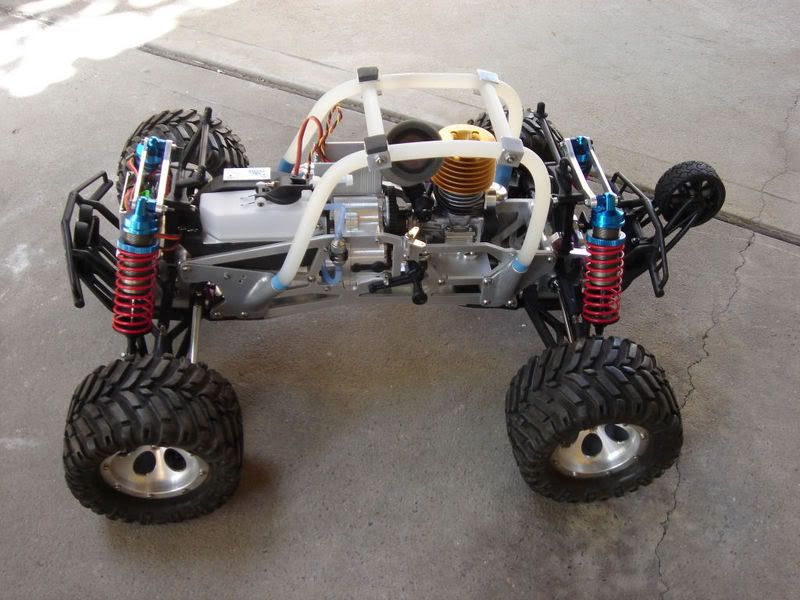
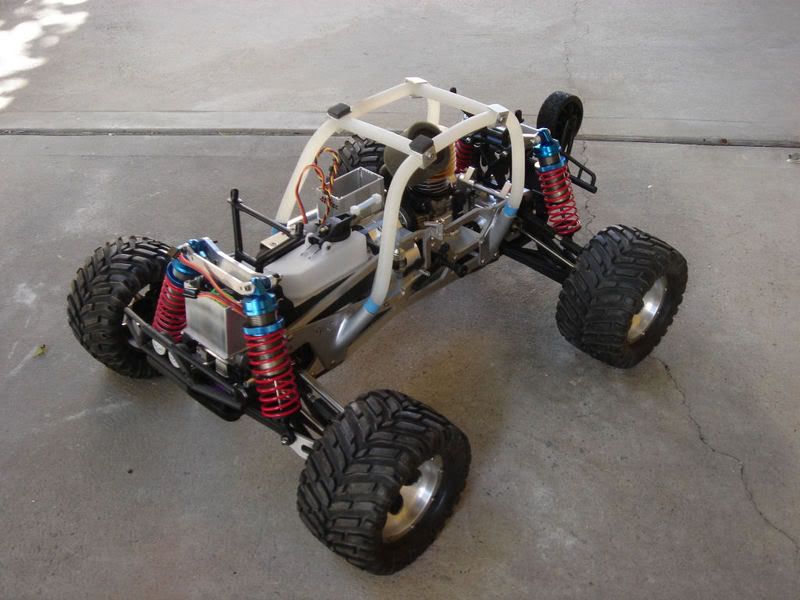
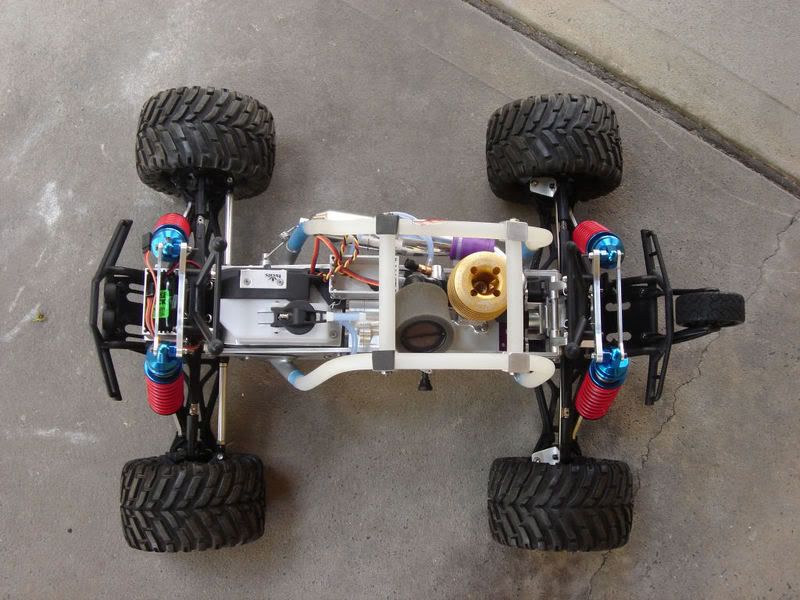
Now put everything together, and they should all fit very well.

 UPDATED PICS!

[/quote]
